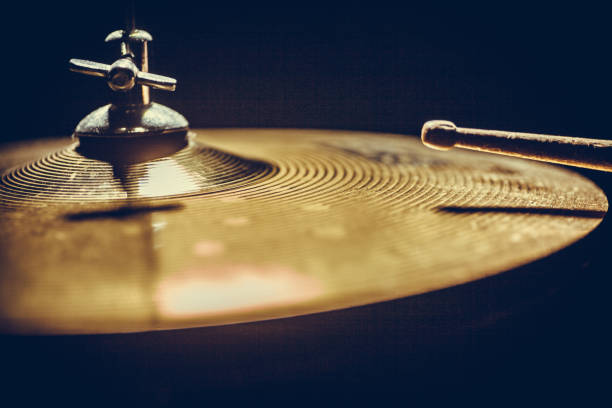
Cymbals are an essential part of a drummer’s kit, providing the unique and vibrant sounds that bring rhythm and energy to music. Over time, cymbals can accumulate dirt, grime, and oxidation, which not only affect their appearance but also their sound quality. Regular cleaning and maintenance are crucial to keep your cymbals in optimal condition. In this article, we will explore the step-by-step process of cleaning cymbals, including the tools needed, cleaning methods, and tips for maintaining their performance.

As drummers, we invest in high-quality cymbals to achieve the perfect sound for our music. However, without proper care, cymbals can deteriorate over time. Cleaning your cymbals regularly not only helps them look great but also ensures they produce the best sound possible. Let’s dive into the importance of cleaning cymbals and how to do it effectively.
Cleaning cymbals is essential for several reasons. Firstly, accumulated dirt and grime can dampen the sound and affect the resonance of the cymbals. By cleaning them regularly, you can restore their vibrant and crisp sound. Secondly, cymbals are susceptible to oxidation, which can lead to discoloration and even damage the metal. Cleaning removes oxidation, preserving the appearance and longevity of the cymbals. Lastly, regular cleaning allows you to inspect the cymbals for any signs of damage or wear, ensuring they remain in top condition.
Before diving into the cleaning process, it’s important to understand the different types of cymbals and their specific care requirements. The most common cymbal types include ride cymbals, crash cymbals, hi-hats, and splash cymbals. Each type may be made from different alloys and require specific cleaning techniques. For example, bronze cymbals should be handled differently than brass or nickel-silver cymbals. It’s crucial to identify the material your cymbals are made of and follow the appropriate cleaning methods.
To clean your cymbals effectively, you’ll need a few essential tools and materials. These include:
Gathering these items before you start the cleaning process will ensure you have everything you need to achieve the best results.
Before diving into the actual cleaning process, it’s important to prepare your cymbals properly. Start by removing them from the drum set and placing them on a soft surface to prevent scratches. Inspect each cymbal for any cracks, keyholing, or other damage. If you notice any significant damage, it’s best to consult a professional before attempting to clean them. Once you’ve ensured the cymbals are in good condition, proceed to the next steps.

6.1. Cleaning Bronze Cymbals
Bronze cymbals are the most common type used by drummers. To clean bronze cymbals, follow these steps:
6.2. Cleaning Brass or Nickel-Silver Cymbals
Brass or nickel-silver cymbals require a slightly different cleaning approach. Follow these steps:
When cleaning your cymbals, it’s important to follow some best practices and avoid common pitfalls. Here are some dos and don’ts to keep in mind:
To enhance the appearance and protect your cymbals, consider polishing and applying a cymbal protectant. Polish can restore their shine, while a protectant creates a barrier against oxidation and fingerprints. Remember to follow the product instructions and use these products sparingly to avoid negatively affecting the cymbals’ sound.
Proper storage is crucial for maintaining the longevity of your cymbals. When not in use, store them in a cool, dry place away from direct sunlight and extreme temperatures. Using padded cymbal bags or cases can provide additional protection and prevent accidental damage during transportation.
Cleaning your cymbals is only one aspect of their maintenance. To ensure optimal sound and performance, regularly inspect your cymbals for any signs of wear, cracks, or keyholing. If you notice any issues, consult a professional for repair or replacement. Additionally, be mindful of your playing technique, as excessive force or improper hitting can cause damage to the cymbals over time.
11.1. Dealing with Oxidation
If you notice oxidation on your cymbals, mix a solution of vinegar and water, and gently rub the affected areas with a soft cloth. Rinse the cymbal thoroughly and dry it properly before using or storing.
11.2. Removing Stick Marks
Stick marks can accumulate on the cymbal’s surface over time. To remove them, use a cymbal cleaner specifically designed to eliminate stick marks. Apply the cleaner to a soft cloth and gently rub the marks until they disappear. Rinse and dry the cymbal afterward.
Using a brand name cymbal cleaner is often recommended for its effectiveness and safety on the cymbal’s finish. Sweetwater suggests applying cymbal cleaner to a microfiber cloth and rubbing it along the grooves of the cymbal. This method is generally safe for most cymbals and is less likely to cause discoloration or damage compared to household metal cleaners.
Regularly cleaning your cymbals is essential for maintaining their sound, appearance, and overall performance. By following the step-by-step cleaning process outlined in this article and adopting proper storage and maintenance practices, you can extend the lifespan of your cymbals and enjoy optimal sound quality. Remember to handle your cymbals with care and consult professionals for any significant damage or issues.
We will contact you within 1 working day, please pay attention to the email